
Sumukh has a knack for simplifying tech for the masses and helping consumers pick the right gadgets with his in-depth insights and reviews. He decided to hide his engineering degree in the closet to pursue his passion for writing. Over the past 6 years, he has contributed with guides, reviews, and detailed opinions to notable publications like TechPP and XDA-Developers – before donning the Editor hat at Guiding Tech Media. Learn about our Tech Review Board
Updated July 18, 2024 Reviewed & Updated by Afam Onyimadu Expertise: Microsoft, R, SQLAfam has been a content writer with Guiding Tech Media since August 2023. However, his experience in tech writing dates back to 2018, when he worked as a freelance writer for Make Tech Easier. Over the years, he has grown a reputation for publishing quality guides, reviews, tips, and explainer articles. His work is featured on top websites, including Technical Ustad, Windows Report, and Next of Windows. He has training as a Microsoft Certified Professional and has covered more Microsoft-related guides on these platforms. Learn about our Tech Review Board
Microsoft Print to PDF integrates into the Print dialog box on your PC. Sometimes, the feature no longer appears when you open the Print dialog box for a certain file. Whatever the reason, you can ensure the feature is enabled with the following steps.
Step 1: Click the Start button, type Windows Features, and click the first result.
Step 2: Find and check the box for Microsoft Print to PDF.
Note: If it’s already enabled, disable it and wait a few seconds. Then, repeat the steps to open Windows Features and enable the feature again.
Step 3: After that, click on OK.

If you need to install it, follow the on-screen instructions and proceed. Reboot your PC and open the Print dialog once again. You should see the Print to PDF option back.
Now, you can save images and perform other functions using Microsoft Print as PDF.
Using the built-in print troubleshooter would resolve most problems and is a good fix when Microsoft Print to PDF is not working on Windows 11.
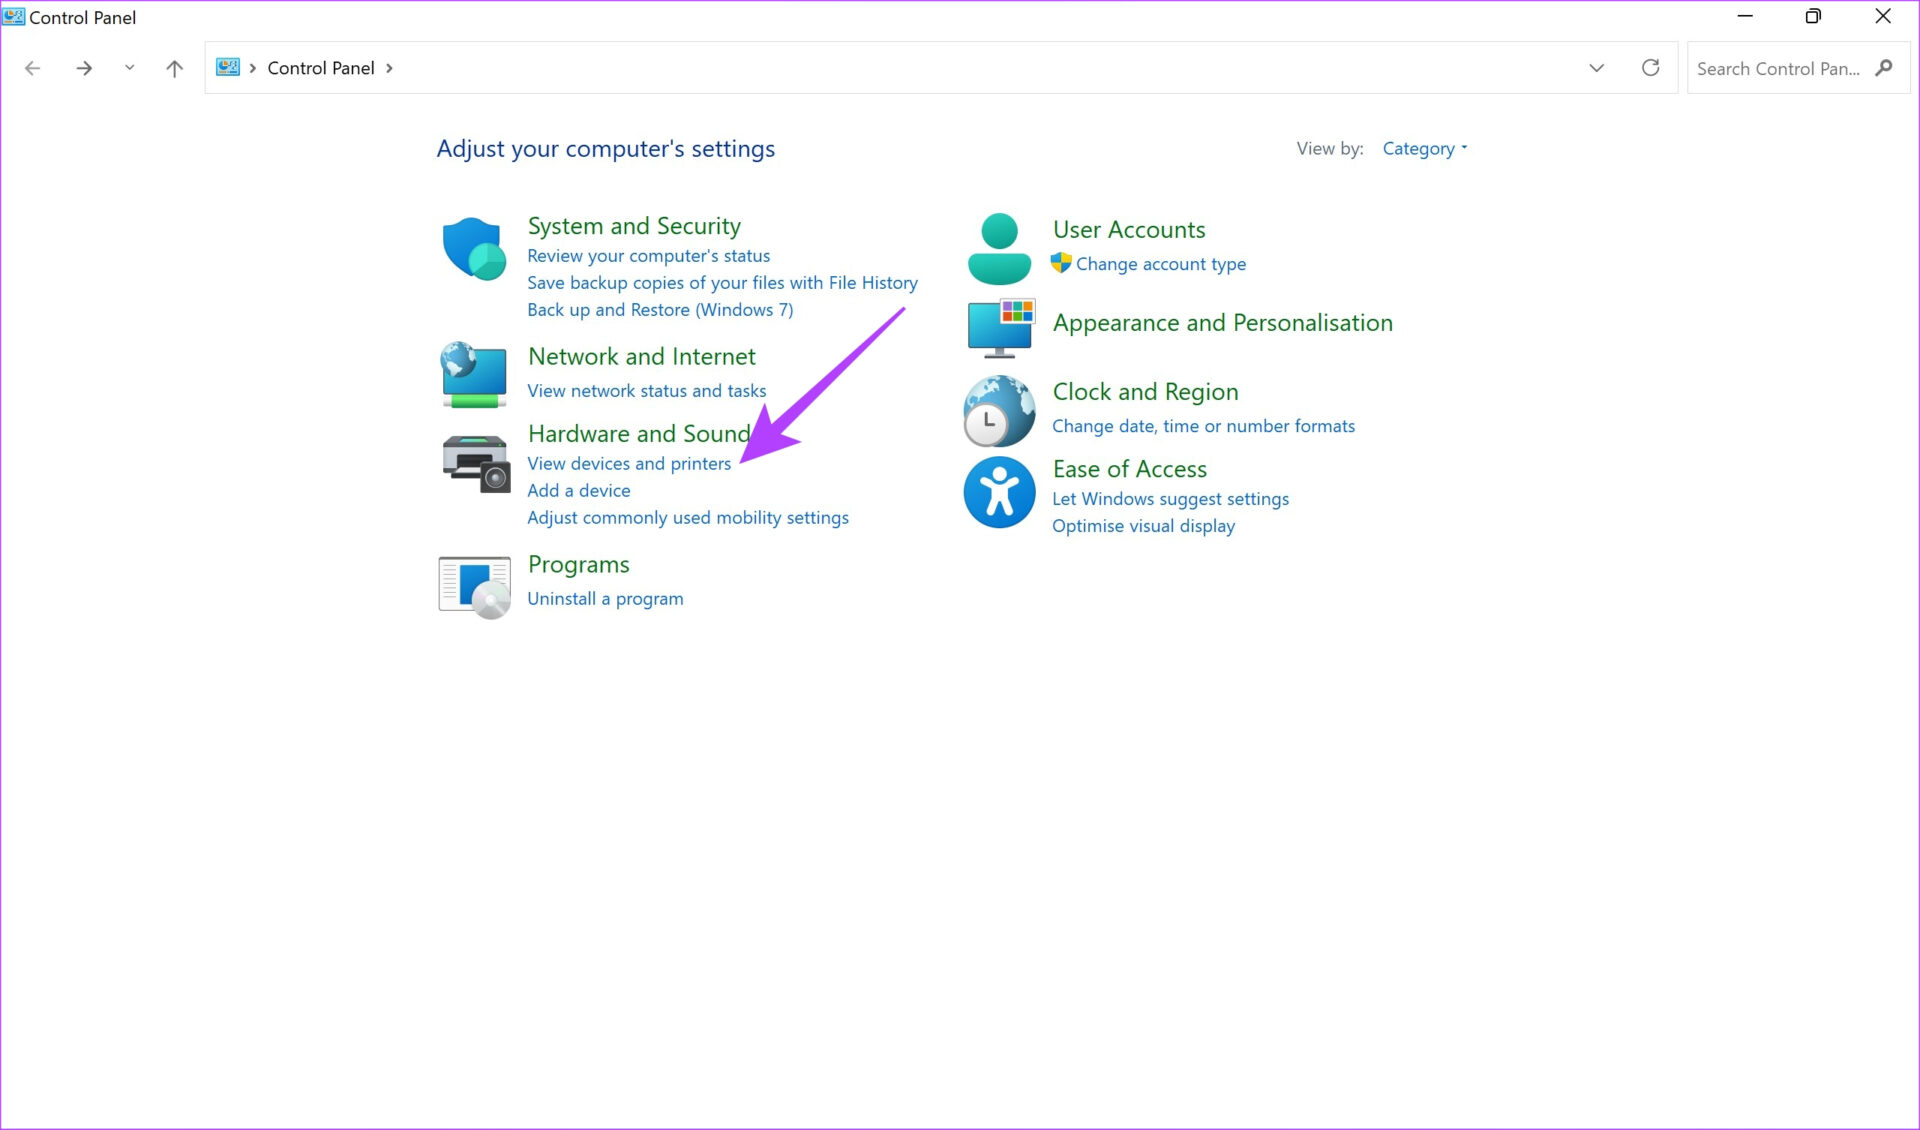
Step 1: Click the Start button, type Control Panel, and press Enter to open the Control Panel on your Windows 11 PC.

Step 2: Click on View devices and printers under Hardware and Sound.
Step 3: Click Printer & scanners.

Step 4: Click Microsoft Print to PDF.
Step 5: Click on Run the troubleshooter and follow the wizard to complete the process.

Step 6: Click Next and follow the wizard to complete the troubleshooting.
Your PC comes with Microsoft Print to PDF drivers pre-installed by default. If you haven’t updated these drivers recently, they could have become obsolete, preventing the feature from functioning. Uninstall the drivers and reinstall them using the steps below.
Step 1: Click the Start button, type Control Panel, and press Enter to open the Control Panel on your Windows 11 PC.
Step 2: Click on View devices and printers under Hardware and Sound.
Step 3: Click Printer & scanners > Microsoft Print to PDF.
Step 4: Lastly, click on Remove.
Now, you may reinstall it by following the steps below.
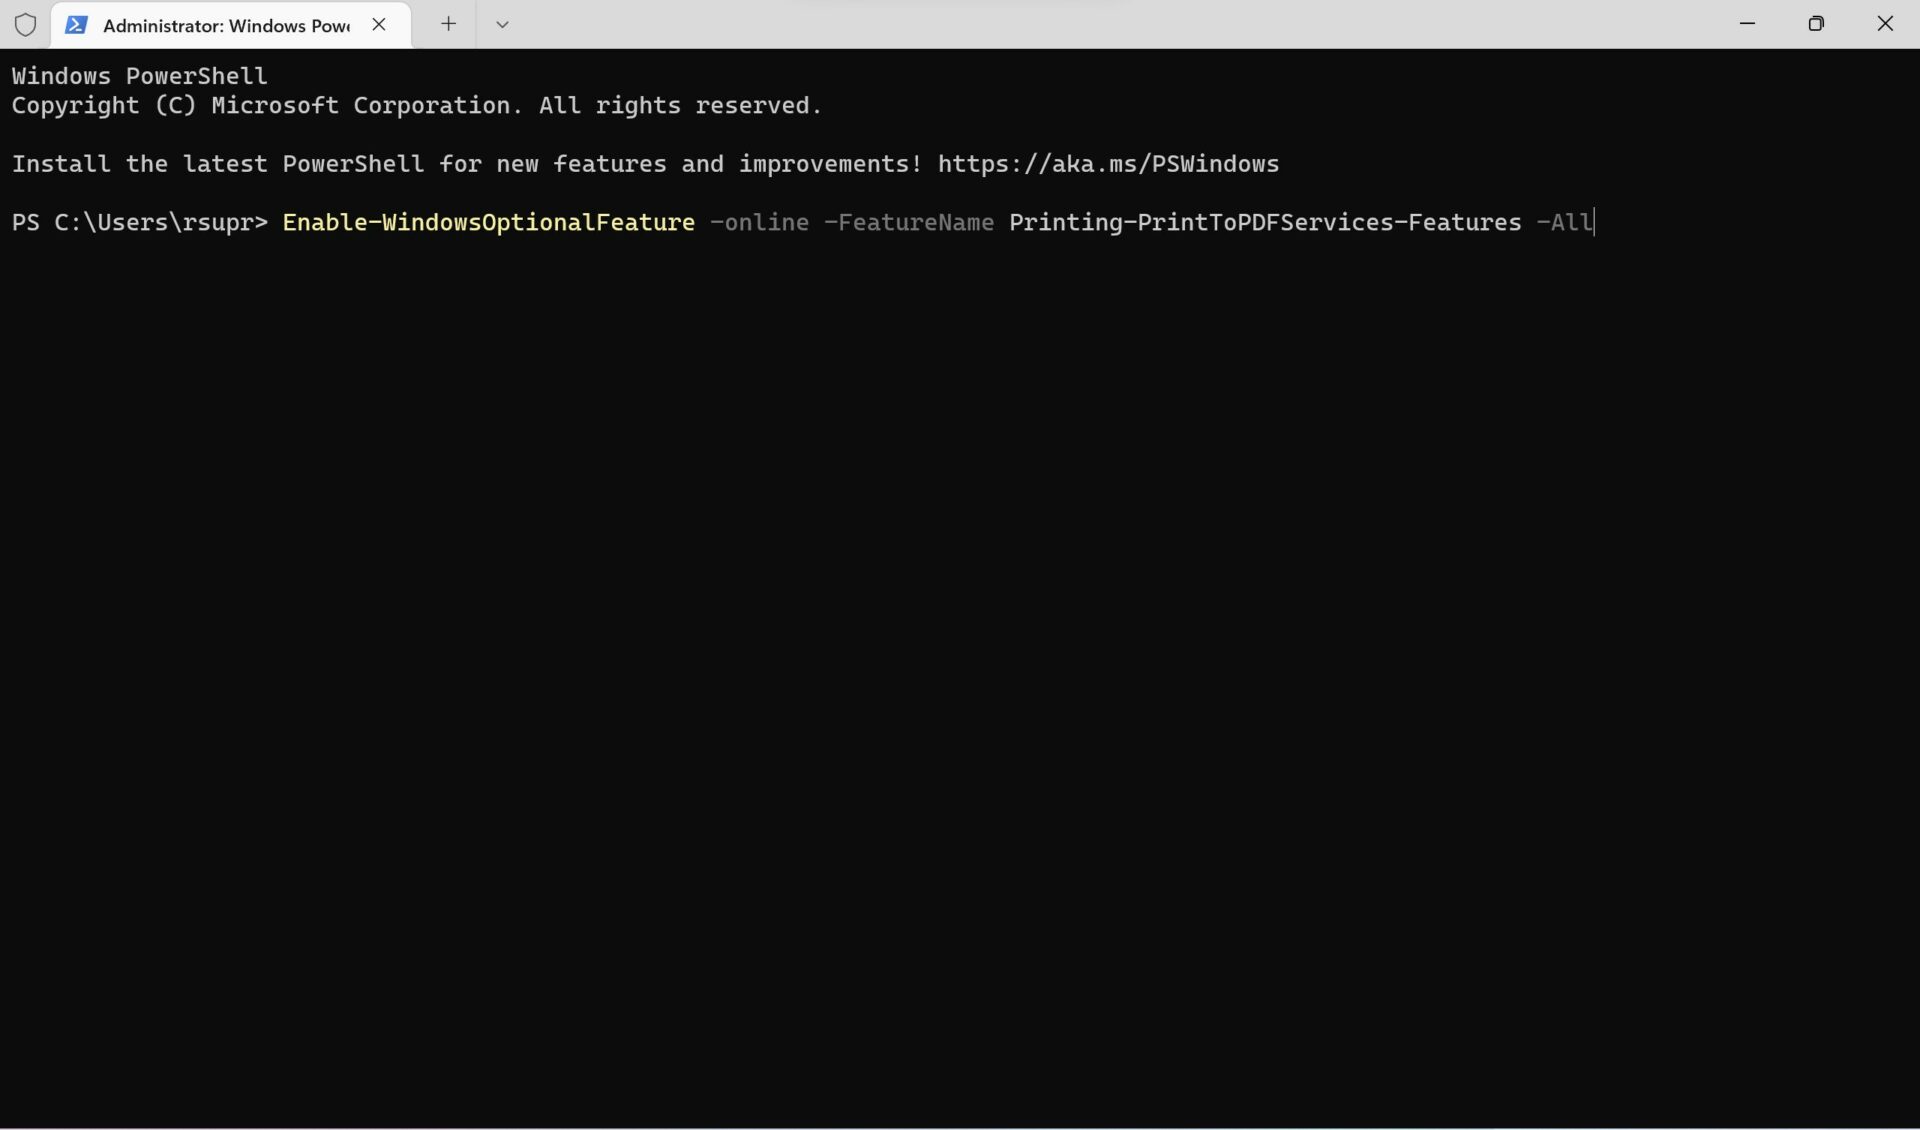
Step 5: Click the Windows button, type Windows PowerShell, and select Run as Administrator from the right pane.
Step 6: Type the following command and hit Enter:
Enable-WindowsOptionalFeature -online -FeatureName Printing-PrintToPDFServices-Features -All
Step 7: You should see the text True next to Online. This confirms that the feature has been re-enabled.

Step 8: Finally, restart your computer and check if Print to PDF works as intended.
Print to PDF is essentially a software feature that emulates the presence of an actual printer. Hence, setting it as your default printer might be a good option. This way, giving the print command on any document should automatically trigger Print to PDF. Here’s how to set it as your default printer on Windows 11.
Step 1: Click the Start button, type Control Panel, and press Enter to open the Control Panel on your Windows 11 PC.
Step 2: Click on View devices and printers under Hardware and Sound.
Step 3: Click Printer & scanners.
Step 4: Disable Let Windows manage my default printer.

Step 5: Click Microsoft Print to PDF.
Step 6: Lastly, click Set as default.